










 生徒
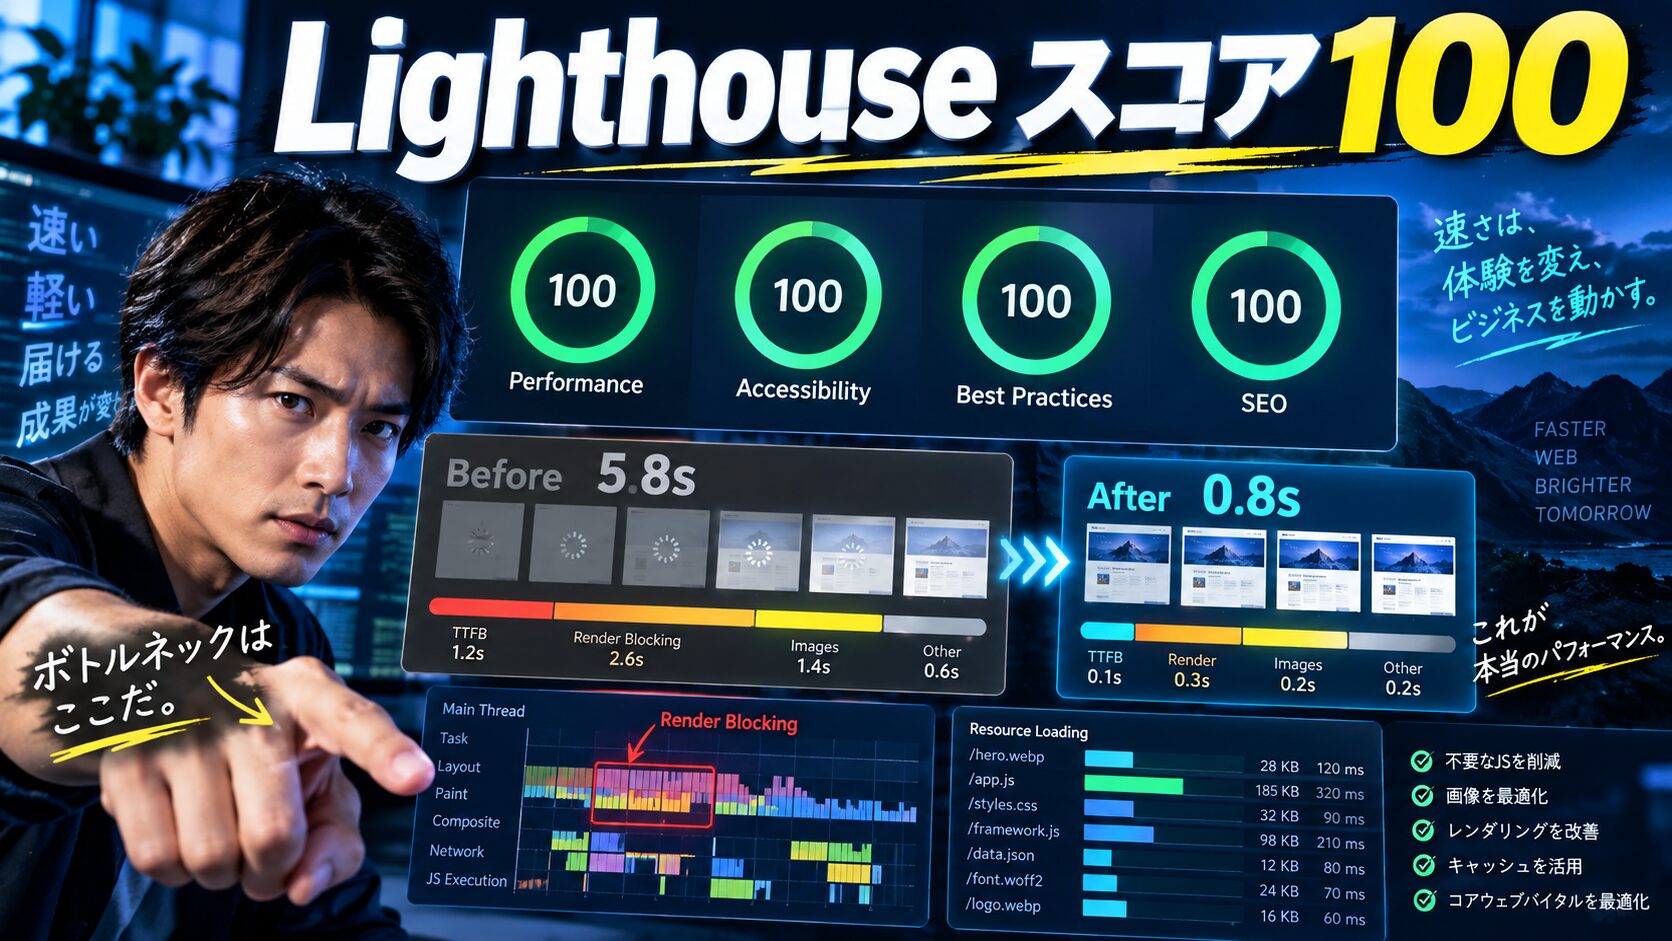
生徒WebサイトのLighthouseスコアを100点にしたいんですが、どうすれば良いでしょうか?
 ペン博士
ペン博士よーく聞くんだぞ!Lighthouseスコア100点は簡単ではないが、正しい手法を実践すれば達成できるんじゃ。今日はパフォーマンス最適化の具体的な方法を詳しく解説するぞい!
Webサイトのパフォーマンスは、ユーザー体験とSEOの両方に直接影響を与える重要な要素です。Googleが提供するLighthouseは、サイトの品質を測定する標準的なツールとして広く使われていますが、スコア100点を達成し維持することは決して簡単ではありません。
本記事では、Lighthouseスコア100点を達成するための具体的な手法を、基礎から実装まで、実践的な例を交えて徹底解説します。
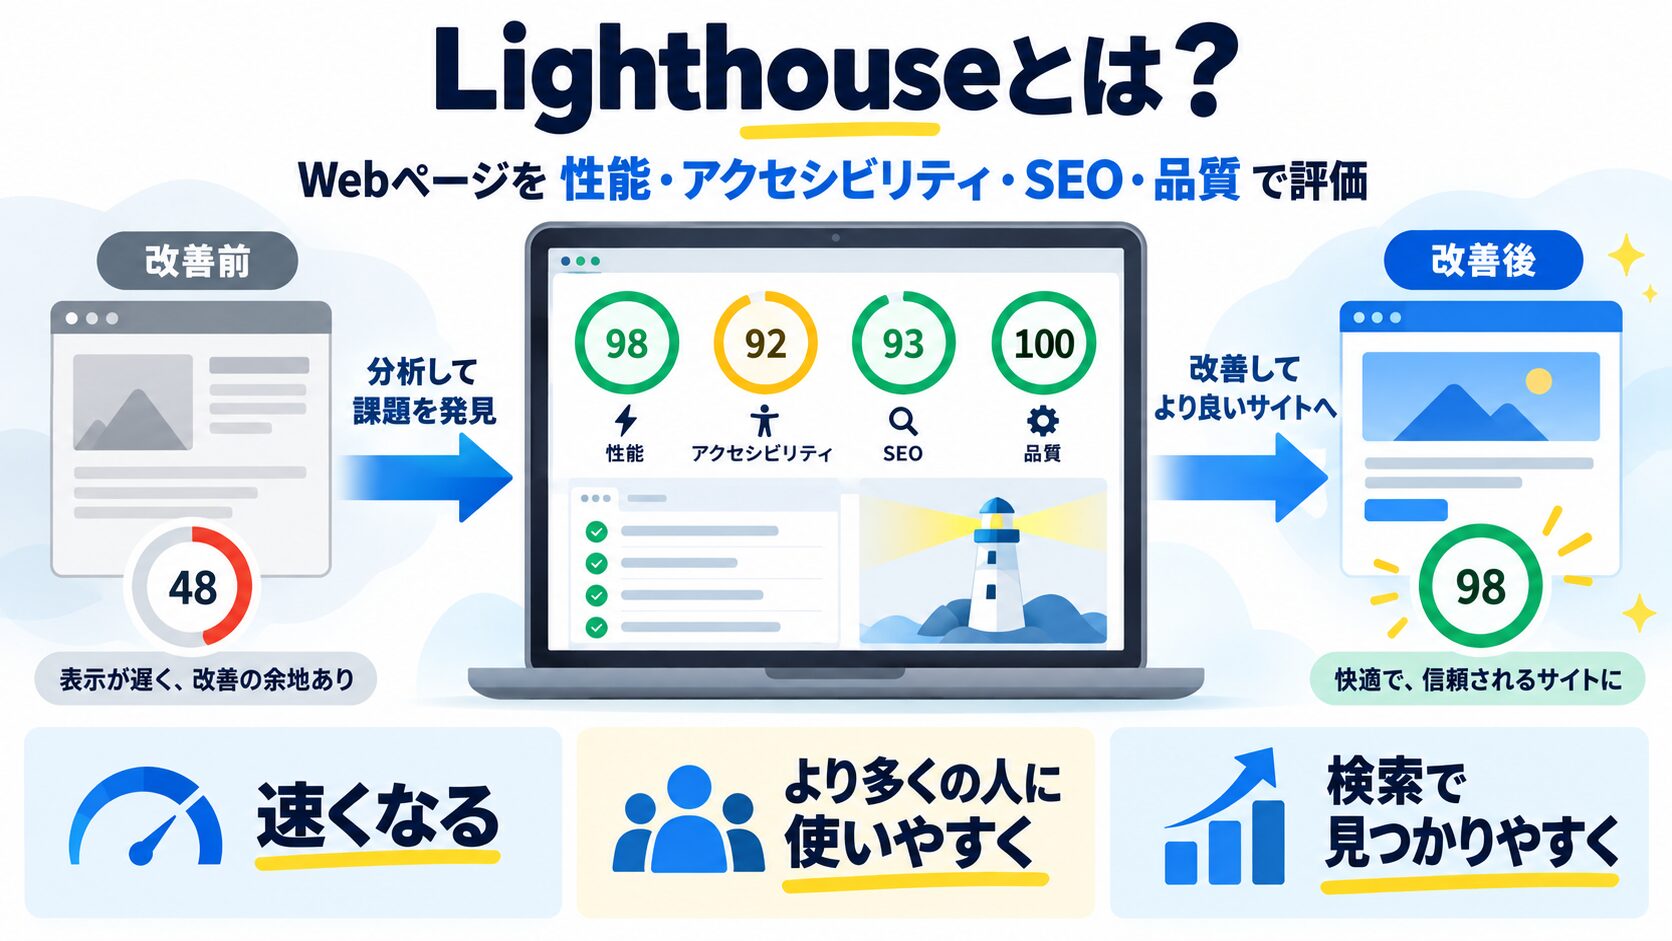
Lighthouse(ライトハウス)は、Googleが開発したWebサイトの品質を測定するオープンソースのツールです。Chrome DevToolsに統合されており、誰でも無料で利用できます。
| カテゴリー | 評価内容 | 重要性 |
|---|---|---|
| Performance(パフォーマンス) | 読み込み速度、レスポンス性 | ★★★★★ |
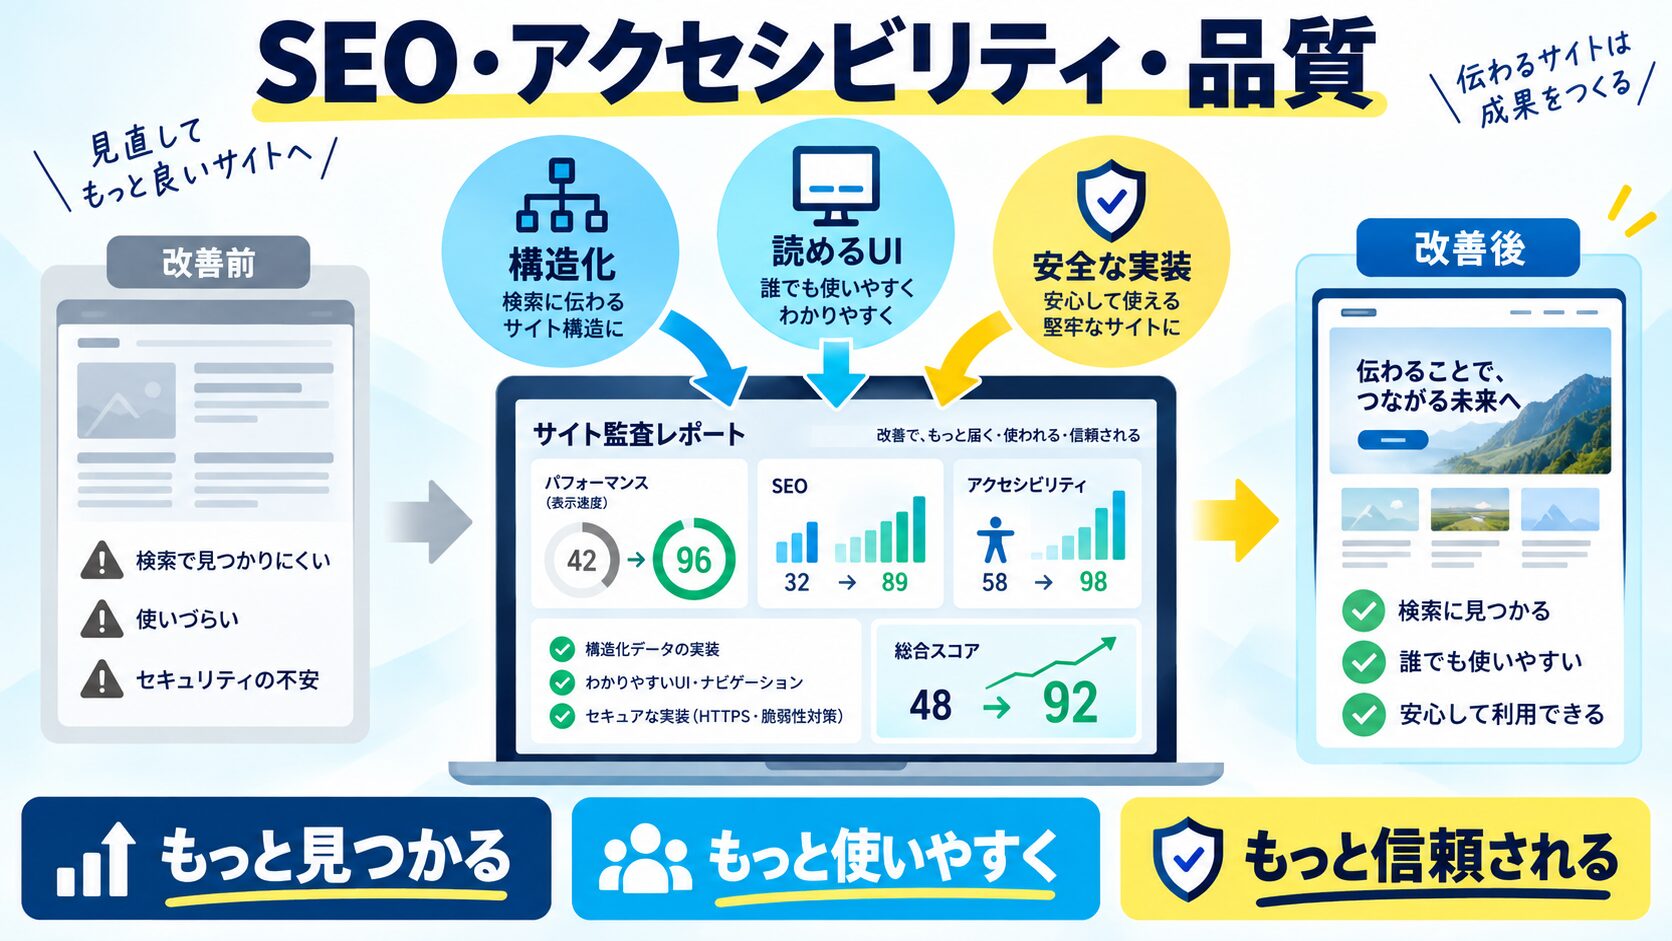
| Accessibility(アクセシビリティ) | 誰でも使えるか、読みやすさ | ★★★★★ |
| Best Practices(ベストプラクティス) | セキュリティ、モダンな技術 | ★★★★☆ |
| SEO | 検索エンジン最適化 | ★★★★★ |
| PWA(Progressive Web App) | アプリライクな体験 | ★★★☆☆ |
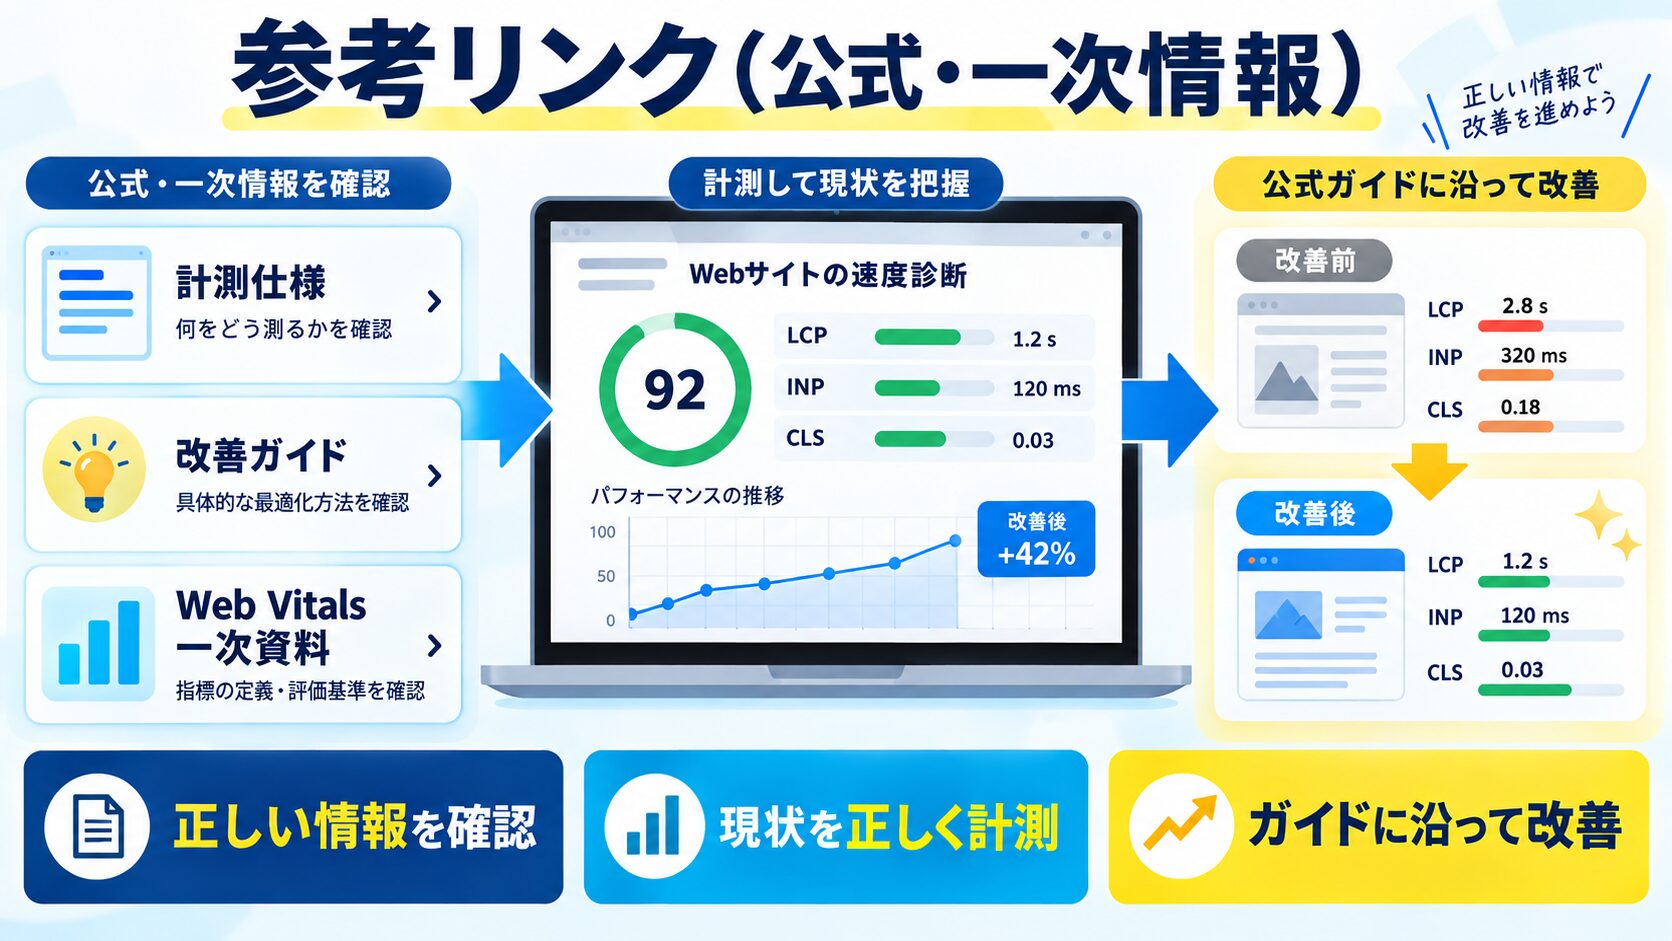
Lighthouseのパフォーマンススコアには、Googleが定めたCore Web Vitalsが大きく影響します。
オンラインツール:https://pagespeed.web.dev/
# Lighthouse CIのインストール
npm install -g @lhci/cli

# 測定の実行
lhci autorun --collect.url=https://example.com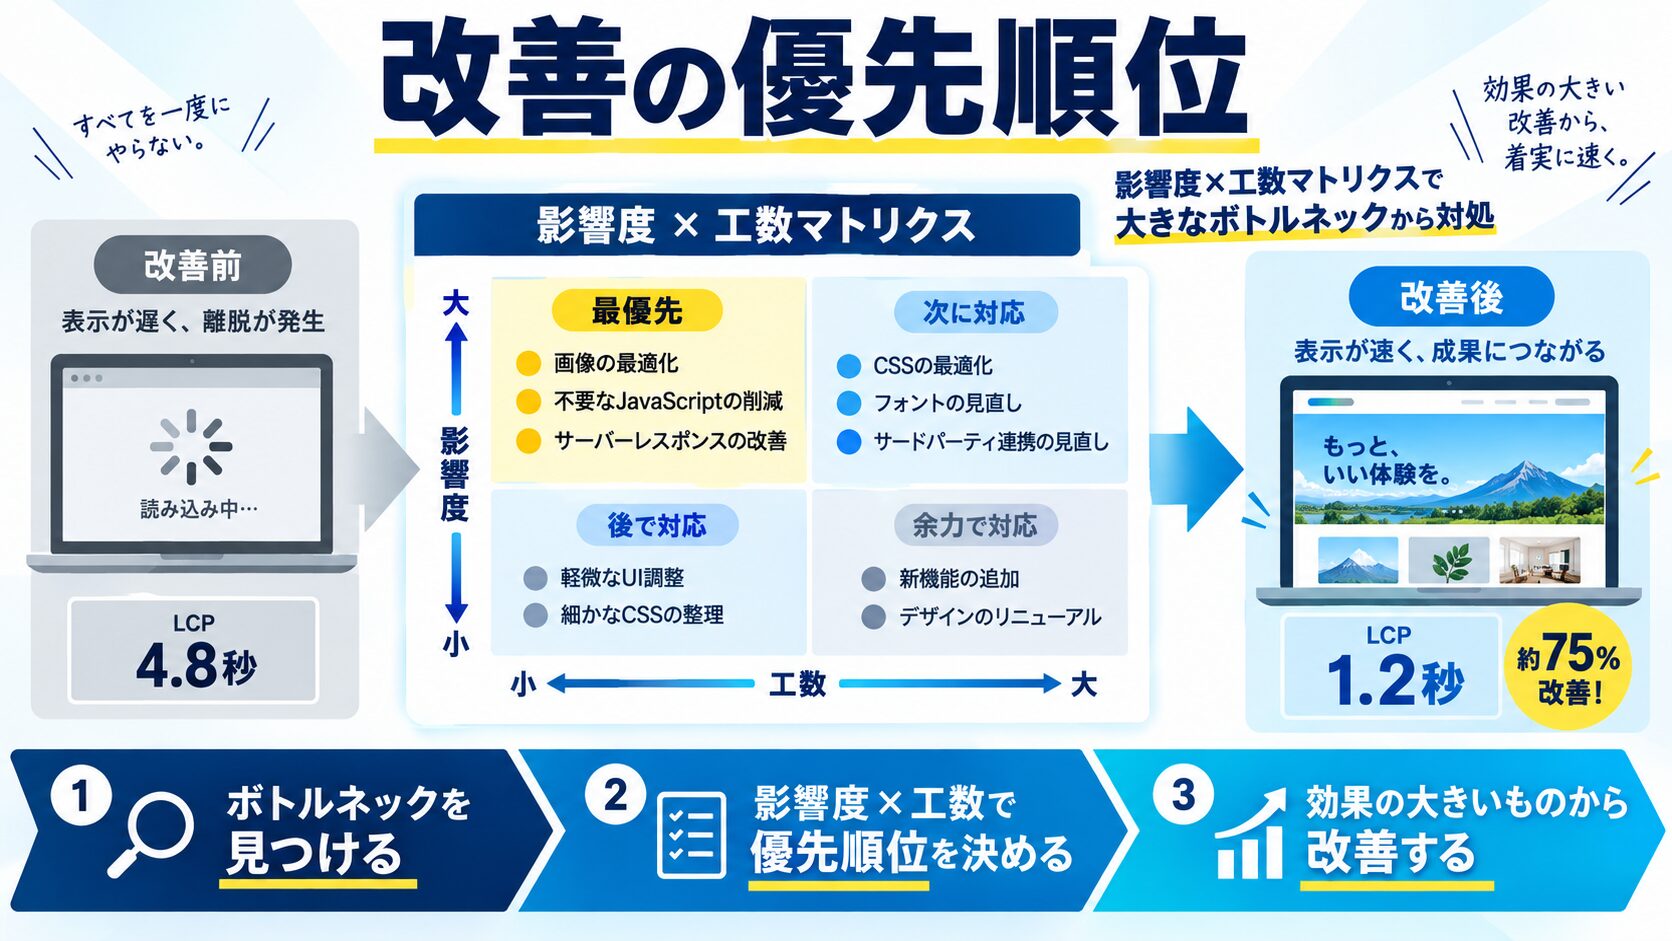 生徒
生徒どこから手を付ければ良いですか?
ペン博士まずは現状を測定し、スコアが低いカテゴリーから優先的に改善していくんじゃ。特にパフォーマンスは最も難しく、最も重要じゃぞ
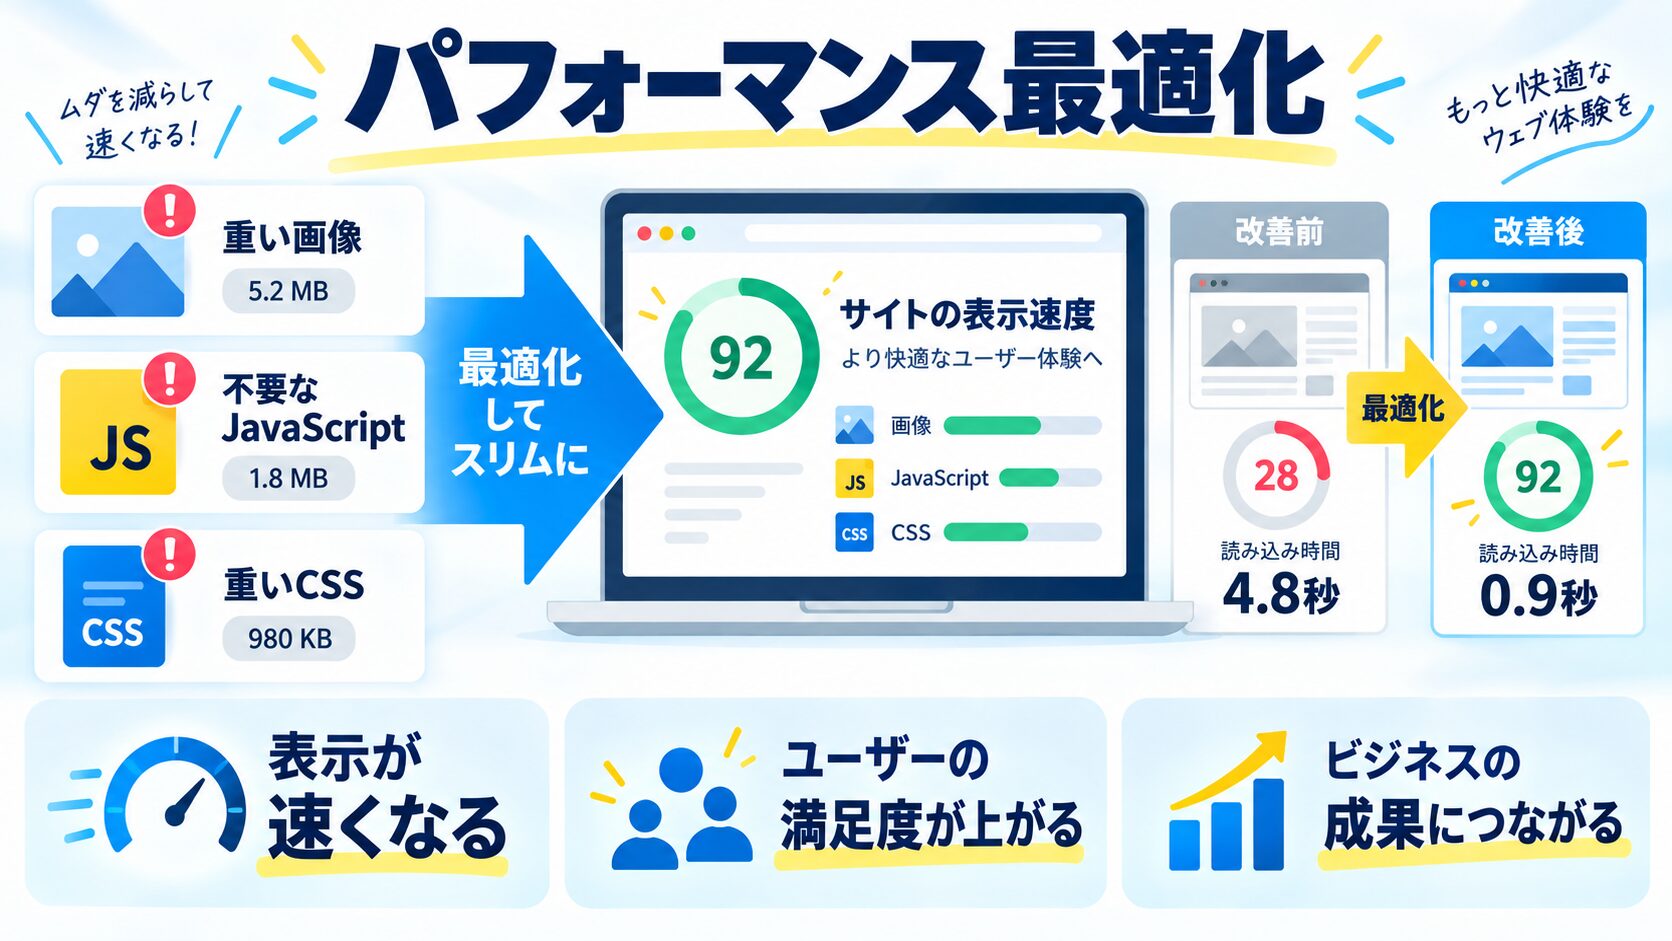
画像は最もファイルサイズが大きく、最適化の効果が高い要素です。
WebPはJPEG/PNGより25〜35%小さく、AVIFはさらに高圧縮率を実現します。
<!-- pictureタグで複数フォーマットを提供 -->
<picture>
  <source srcset="image.avif" type="image/avif">
  <source srcset="image.webp" type="image/webp">
  <img src="image.jpg" alt="説明文" loading="lazy" decoding="async">
</picture><img
src="image-800.jpg"
srcset="
image-400.jpg 400w,
image-800.jpg 800w,
image-1200.jpg 1200w,
image-1600.jpg 1600w
"
sizes="
(max-width: 600px) 400px,
(max-width: 1200px) 800px,
1200px
"
alt="説明文"
loading="lazy"
decoding="async"
width="800"
height="600"
/><!-- ネイティブLazy Loading -->
<img src="image.jpg" alt="説明文" loading="lazy" decoding="async">
<!-- iframeにも適用可能 -->
<iframe src="https://example.com" loading="lazy"></iframe><!-- widthとheightを必ず指定 -->
<img
src="image.jpg"
alt="説明文"
width="800"
height="600"
loading="lazy"
/>
<!-- CSSでアスペクト比を維持 -->
<style>
img {
max-width: 100%;
height: auto;
}
</style>// ❌ 悪い例:全てをインポート
import _ from 'lodash';
// ✅ 良い例:必要な関数のみインポート
import debounce from 'lodash/debounce';
// または、Tree Shakingが有効な書き方
import { debounce } from 'lodash-es';// Next.jsでの動的インポート
import dynamic from 'next/dynamic';
// コンポーネントを動的に読み込む
const DynamicComponent = dynamic(() => import('./HeavyComponent'), {
loading: () => <p>読み込み中...</p>,
ssr: false // クライアント側でのみ読み込む
});
// React標準の動的インポート
const LazyComponent = React.lazy(() => import('./LazyComponent'));
function App() {
return (
<Suspense fallback={<div>Loading...</div>}>
<LazyComponent />
</Suspense>
);
}<!-- defer: DOMが完全にパースされた後に実行 -->
<script src="script.js" defer></script>
<!-- async: ダウンロード完了次第実行(順序保証なし) -->
<script src="analytics.js" async></script>
<!-- type="module": ES Modulesとして読み込み(自動でdefer) -->
<script type="module" src="app.js"></script><!-- クリティカルなスクリプトはインライン化 -->
<script>
// ダークモード切り替えなど、即座に実行したいコード
(function() {
const theme = localStorage.getItem('theme');
if (theme === 'dark') {
document.documentElement.classList.add('dark');
}
})();
</script>// PurgeCSSの設定(Tailwind CSS使用時)
// tailwind.config.js
module.exports = {
content: [
'./pages/**/*.{js,ts,jsx,tsx}',
'./components/**/*.{js,ts,jsx,tsx}',
],
// 使用されているクラスのみビルドに含まれる
}<!-- ファーストビューに必要なCSSをインライン化 -->
<style>
/* クリティカルCSS(Above the Fold) */
body {
margin: 0;
font-family: -apple-system, BlinkMacSystemFont, 'Segoe UI', sans-serif;
}
.header {
background: #fff;
padding: 1rem;
box-shadow: 0 2px 4px rgba(0,0,0,0.1);
}
</style>
<!-- 残りのCSSは非同期で読み込む -->
<link rel="preload" href="styles.css" as="style" onload="this.onload=null;this.rel='stylesheet'">
<noscript><link rel="stylesheet" href="styles.css"></noscript>// Next.jsは自動で圧縮されるが、手動の場合:
// package.json
{
"scripts": {
"build:css": "postcss src/styles.css -o dist/styles.min.css"
},
"devDependencies": {
"postcss": "^8.4.0",
"postcss-cli": "^10.0.0",
"cssnano": "^6.0.0"
}
}<!-- Google Fontsの最適な読み込み -->
<link rel="preconnect" href="https://fonts.googleapis.com">
<link rel="preconnect" href="https://fonts.gstatic.com" crossorigin>
<link
href="https://fonts.googleapis.com/css2?family=Noto+Sans+JP:wght@400;700&display=swap"
rel="stylesheet"
>
<style>
/* フォント読み込み中のフォールバック */
body {
font-family: 'Noto Sans JP', -apple-system, BlinkMacSystemFont, sans-serif;
}
</style>// app/layout.tsx
import { Noto_Sans_JP } from 'next/font/google';
const notoSansJP = Noto_Sans_JP({
weight: ['400', '700'],
subsets: ['latin'],
display: 'swap',
preload: true,
});
export default function RootLayout({ children }) {
return (
<html lang="ja" className={notoSansJP.className}>
<body>{children}</body>
</html>
);
}HTTP/2は複数のリクエストを並列処理でき、パフォーマンスが大幅に向上します。
# Nginxの設定例
server {
    listen 443 ssl http2;
    server_name example.com;

    ssl_certificate /path/to/cert.pem;
    ssl_certificate_key /path/to/key.pem;

    # その他の設定...
}# Nginxの設定例
gzip on;
gzip_vary on;
gzip_min_length 1024;
gzip_types
text/plain
text/css
text/xml
text/javascript
application/javascript
application/json
application/xml+rss
image/svg+xml;
# Brotli圧縮(より高圧縮率)
brotli on;
brotli_types
text/plain
text/css
text/xml
text/javascript
application/javascript
application/json;# Nginxのキャッシュ設定
location ~* \.(jpg|jpeg|png|gif|ico|css|js|woff|woff2)$ {
expires 1y;
add_header Cache-Control "public, immutable";
}
# HTMLは短めのキャッシュ
location ~* \.html$ {
expires 1h;
add_header Cache-Control "public, must-revalidate";
}静的ファイルをCDNから配信することで、世界中どこからでも高速にアクセスできます。

LCPは最大コンテンツの描画時間で、2.5秒以内が目標です。
// LCP要素を特定するスクリプト
new PerformanceObserver((list) => {
  const entries = list.getEntries();
  const lastEntry = entries[entries.length - 1];
  console.log('LCP element:', lastEntry.element);
  console.log('LCP time:', lastEntry.startTime);
}).observe({ entryTypes: ['largest-contentful-paint'] });<!-- ヒーロー画像をプリロード -->
<link rel="preload" as="image" href="hero.jpg" fetchpriority="high">
<!-- 重要なフォントをプリロード -->
<link rel="preload" as="font" href="font.woff2" type="font/woff2" crossorigin>// ❌ 悪い例:重い処理をメインスレッドで実行
function heavyCalculation() {
for (let i = 0; i < 1000000; i++) {
// 重い処理
}
}
// ✅ 良い例:Web Workerで実行
// worker.js
self.addEventListener('message', (e) => {
const result = heavyCalculation(e.data);
self.postMessage(result);
});
// main.js
const worker = new Worker('worker.js');
worker.postMessage(data);
worker.addEventListener('message', (e) => {
console.log('Result:', e.data);
});// タスクを細かく分割してブラウザに制御を返す
async function processLargeArray(array) {
const chunkSize = 100;
for (let i = 0; i < array.length; i += chunkSize) {
const chunk = array.slice(i, i + chunkSize);
// チャンクを処理
await processChunk(chunk);
// ブラウザに制御を返す
await new Promise(resolve => setTimeout(resolve, 0));
}
}CLSは視覚的な安定性を測る指標で、0.1以下が目標です。
<!-- 必ずwidth/heightを指定 -->
<img src="image.jpg" width="800" height="600" alt="説明">

<!-- aspect-ratioを使用 -->
<style>
  .image-container {
    aspect-ratio: 16 / 9;
  }
</style><!-- 広告用のプレースホルダー -->
<div style="min-height: 250px;">
<!-- 広告スクリプト -->
</div>@font-face {
font-family: 'CustomFont';
src: url('font.woff2') format('woff2');
/* フォールバックフォントとのサイズ差を調整 */
font-display: swap;
size-adjust: 100%;
}
<!DOCTYPE html>
<html lang="ja">
<head>
  <meta charset="UTF-8">
  <meta name="viewport" content="width=device-width, initial-scale=1.0">

  <!-- タイトル(60文字以内) -->
  <title>ページタイトル | サイト名</title>

  <!-- メタディスクリプション(160文字以内) -->
  <meta name="description" content="ページの説明文">

  <!-- OGP -->
  <meta property="og:title" content="ページタイトル">
  <meta property="og:description" content="ページの説明文">
  <meta property="og:image" content="https://example.com/ogp.jpg">
  <meta property="og:url" content="https://example.com/page">

  <!-- Twitter Card -->
  <meta name="twitter:card" content="summary_large_image">

  <!-- Canonical URL -->
  <link rel="canonical" href="https://example.com/page">

  <!-- robots -->
  <meta name="robots" content="index, follow">
</head><script type="application/ld+json">
{
"@context": "https://schema.org",
"@type": "Article",
"headline": "記事のタイトル",
"author": {
"@type": "Person",
"name": "著者名"
},
"datePublished": "2026-02-25",
"image": "https://example.com/article-image.jpg"
}
</script><!-- ✅ 良い例:セマンティックな構造 -->
<header>
<nav aria-label="メインナビゲーション">
<ul>
<li><a href="/">ホーム</a></li>
<li><a href="/about">概要</a></li>
</ul>
</nav>
</header>
<main>
<article>
<h1>記事タイトル</h1>
<p>本文...</p>
</article>
</main>
<footer>
<p>© 2026 サイト名</p>
</footer><!-- ボタン -->
<button aria-label="メニューを開く">
<svg>...</svg>
</button>
<!-- フォーム -->
<form>
<label for="email">メールアドレス</label>
<input
type="email"
id="email"
name="email"
aria-required="true"
aria-describedby="email-help"
>
<span id="email-help">example@domain.comの形式で入力してください</span>
</form>
<!-- リンク -->
<a href="/article" aria-label="記事タイトル - 続きを読む">
続きを読む
</a>WCAG AA基準:通常テキストは4.5:1以上、大きいテキスト(18pt以上)は3:1以上のコントラスト比が必要です。
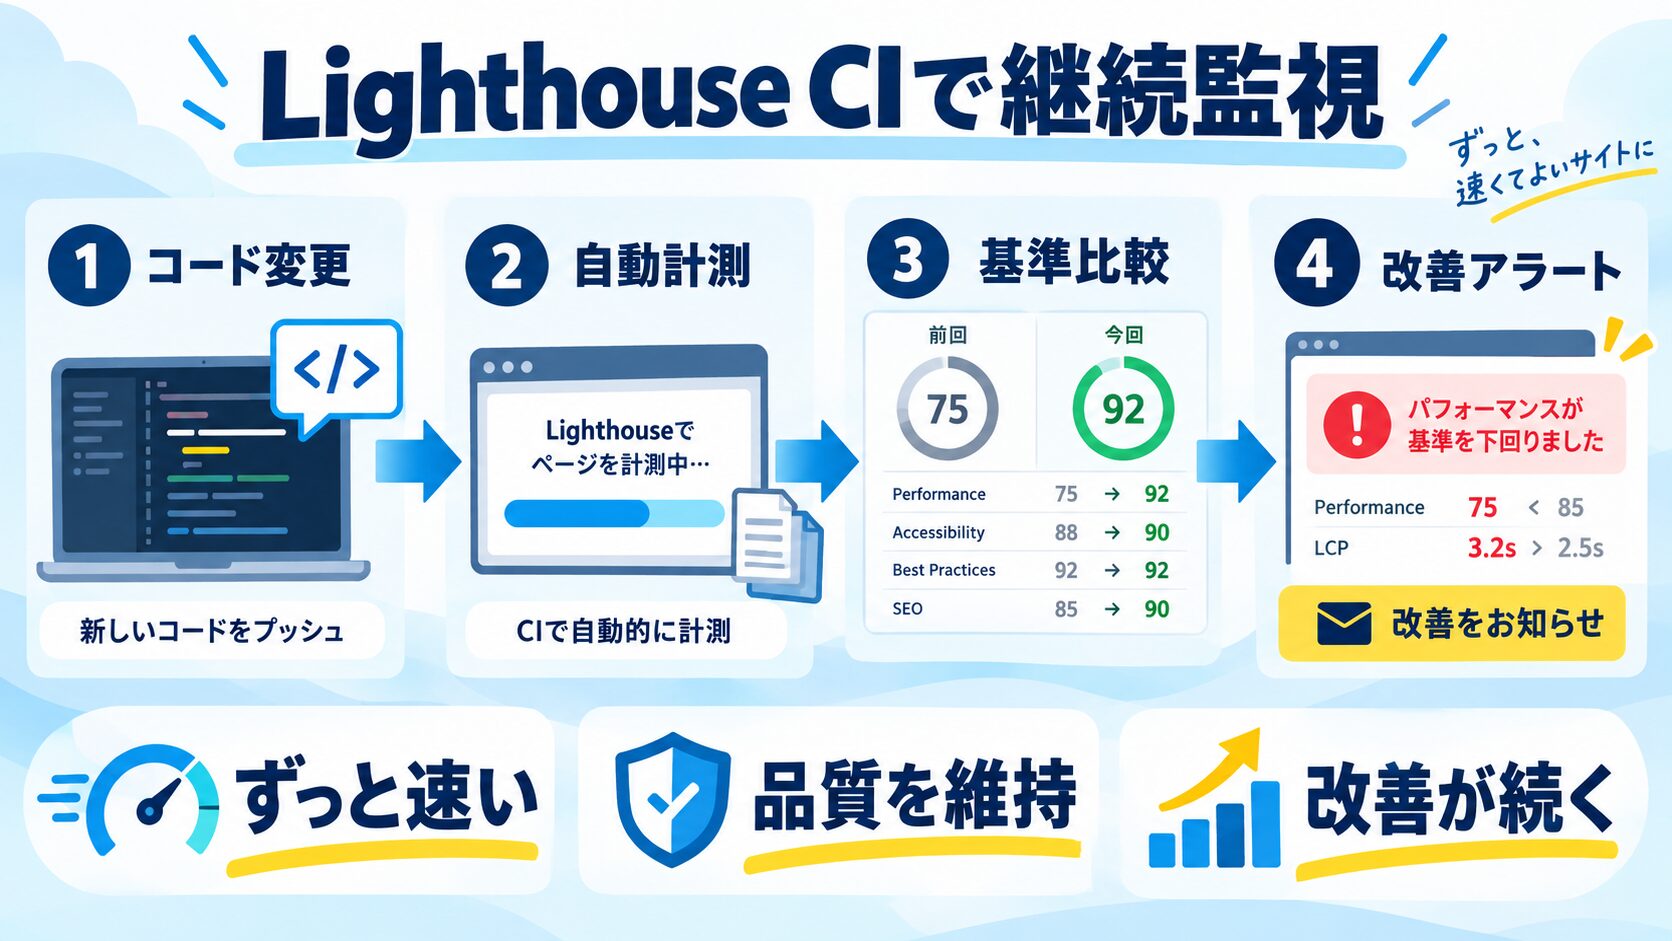
Lighthouseスコア100点は達成して終わりではありません。コードの変更やサードパーティスクリプトの追加でスコアは変動するため、継続的な監視が重要です。
# GitHub Actionsの設定例
# .github/workflows/lighthouse.yml
name: Lighthouse CI
on:
push:
branches:
- main
pull_request:
jobs:
lighthouse:
runs-on: ubuntu-latest
steps:
- uses: actions/checkout@v4
- name: Setup Node.js
uses: actions/setup-node@v4
with:
node-version: '20'
- name: Install dependencies
run: npm ci
- name: Build
run: npm run build
- name: Run Lighthouse CI
run: |
npm install -g @lhci/cli
lhci autorun
# lighthouserc.json
{
"ci": {
"collect": {
"staticDistDir": "./dist",
"url": [
"http://localhost/index.html",
"http://localhost/about.html"
]
},
"assert": {
"preset": "lighthouse:recommended",
"assertions": {
"categories:performance": ["error", {"minScore": 0.9}],
"categories:accessibility": ["error", {"minScore": 0.9}],
"categories:best-practices": ["error", {"minScore": 0.9}],
"categories:seo": ["error", {"minScore": 0.9}]
}
}
}
} 生徒
生徒Lighthouseスコア100点、達成できそうな気がしてきました!
 ペン博士
ペン博士その意気じゃ!ただし、スコア100点は「今日達成しても明日が同じとは限らない」ことを忘れずに。継続的な監視と改善が何より大切なんじゃぞ!
生徒わかりました!まずは画像最適化から始めてみます!
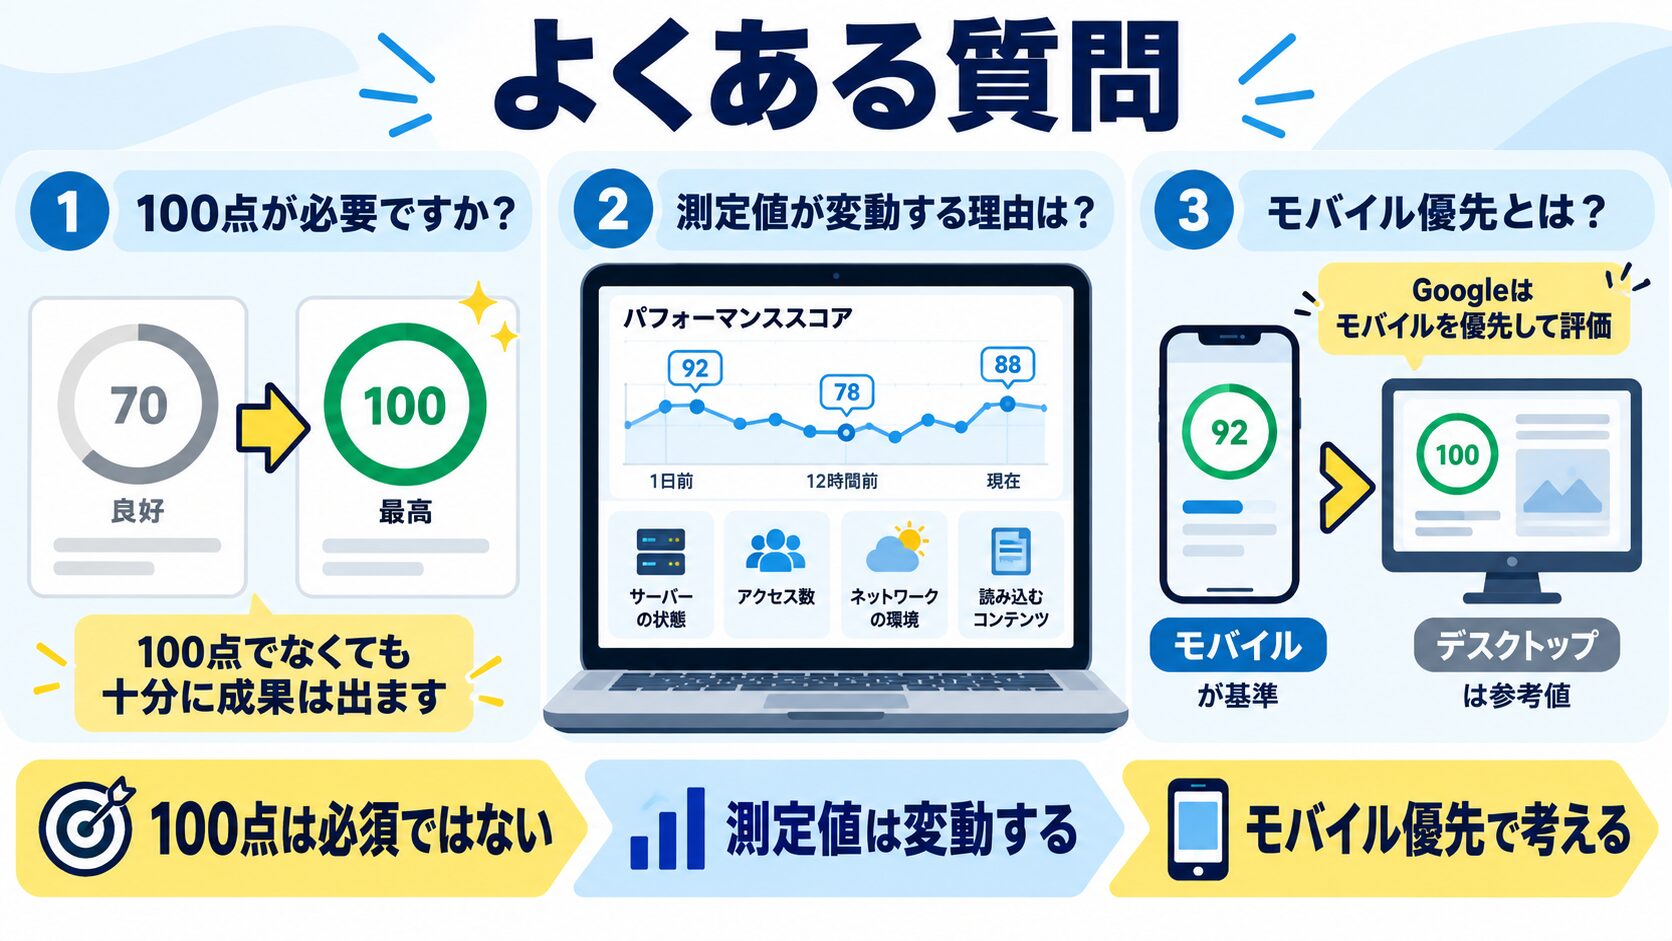
A. まず現状のスコアをChrome DevToolsまたはPageSpeed Insightsで測定し、最も低いカテゴリーを特定することから始めてください。パフォーマンスが低い場合は画像最適化(WebP変換・遅延読み込み・サイズ指定)が最もコストパフォーマンスが高い改善策です。
A. LighthouseのモバイルスコアはCPUを4倍・通信速度を遅くシミュレートして計測するため、デスクトップより厳しい条件になります。モバイルスコアが低い場合は、JavaScriptのコード分割・未使用コード削除・Critical CSS の適用が効果的です。
A. サードパーティスクリプトはasyncまたはdefer属性を付けて読み込み遅延させるのが基本です。さらに必要ないページでは読み込まないよう条件分岐を追加してください。どうしても影響を避けられない場合は、Lighthouse CIの閾値をそのスクリプトの影響を考慮した現実的な値に設定することを検討してください。
A. Chrome DevToolsの「Performance」タブで録画し、「Layout Shift」イベントを探してください。よくある原因は画像・広告のサイズ未指定、フォントのFOUT(フォールバックフォントと読み込み後フォントのサイズ差)、動的に挿入されるコンテンツです。aspect-ratioプロパティとfont-display: swap+size-adjustの組み合わせが効果的です。
A. PRごとにスコアを自動計測し、閾値を下回った変更をマージ前にブロックできます。「スコアを上げた後に別の変更で下がっていた」という状況を防ぎ、スコアの継続的な維持が可能になります。assertionsでカテゴリーごとに最低スコアを設定できるため、チームで品質基準を統一できます。
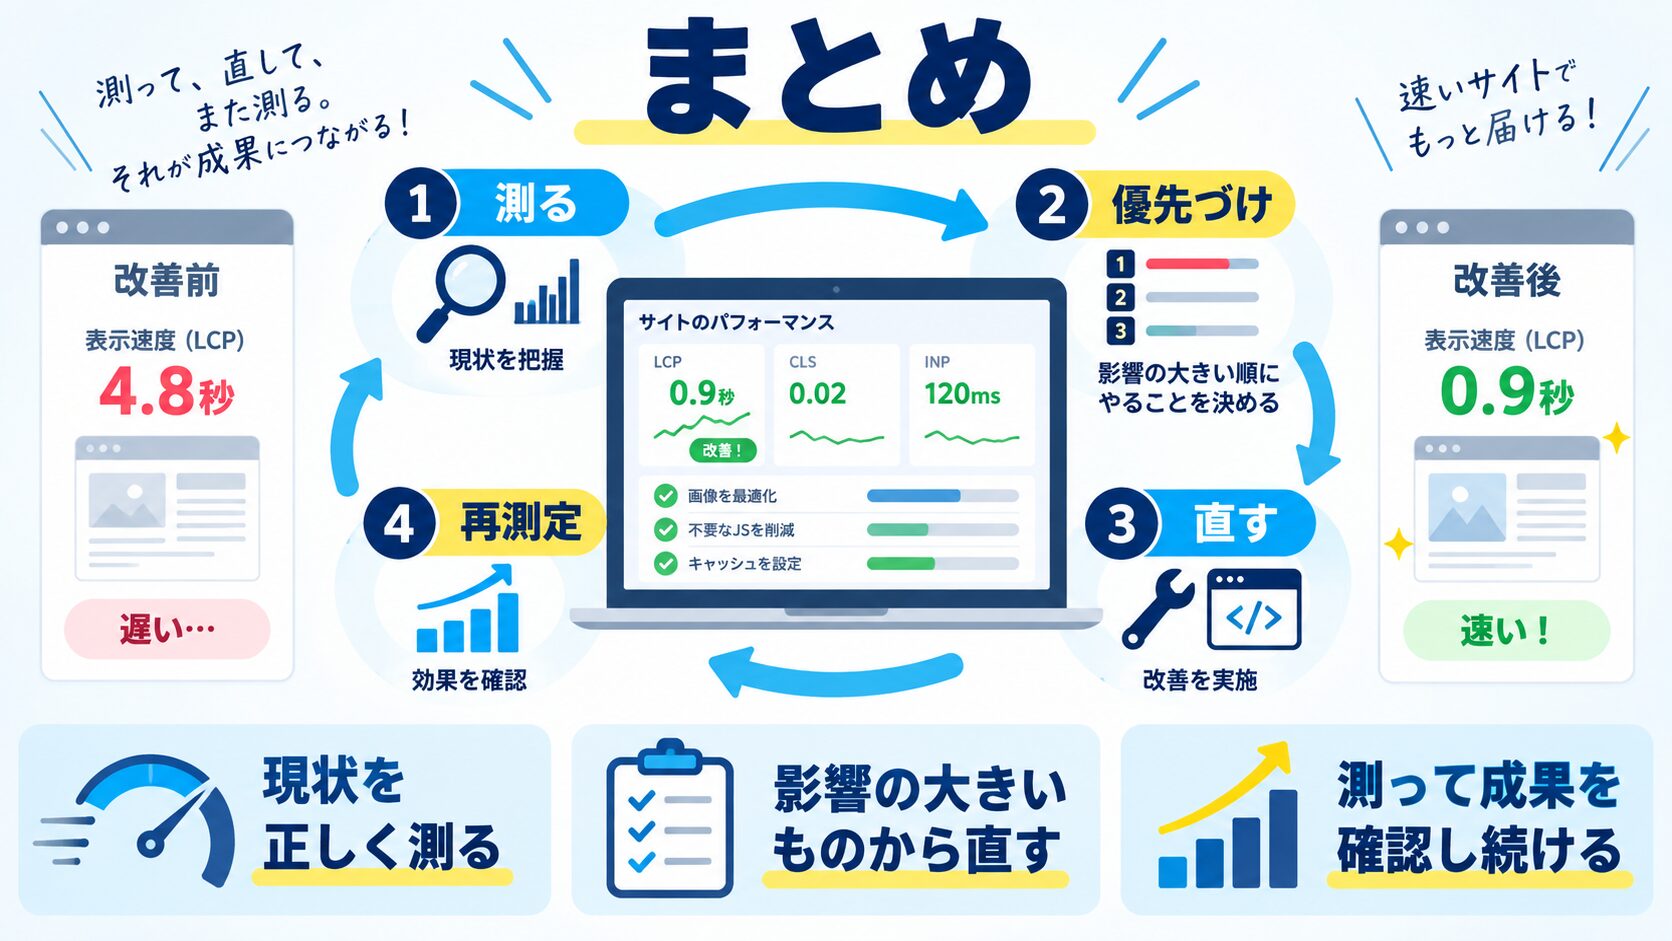
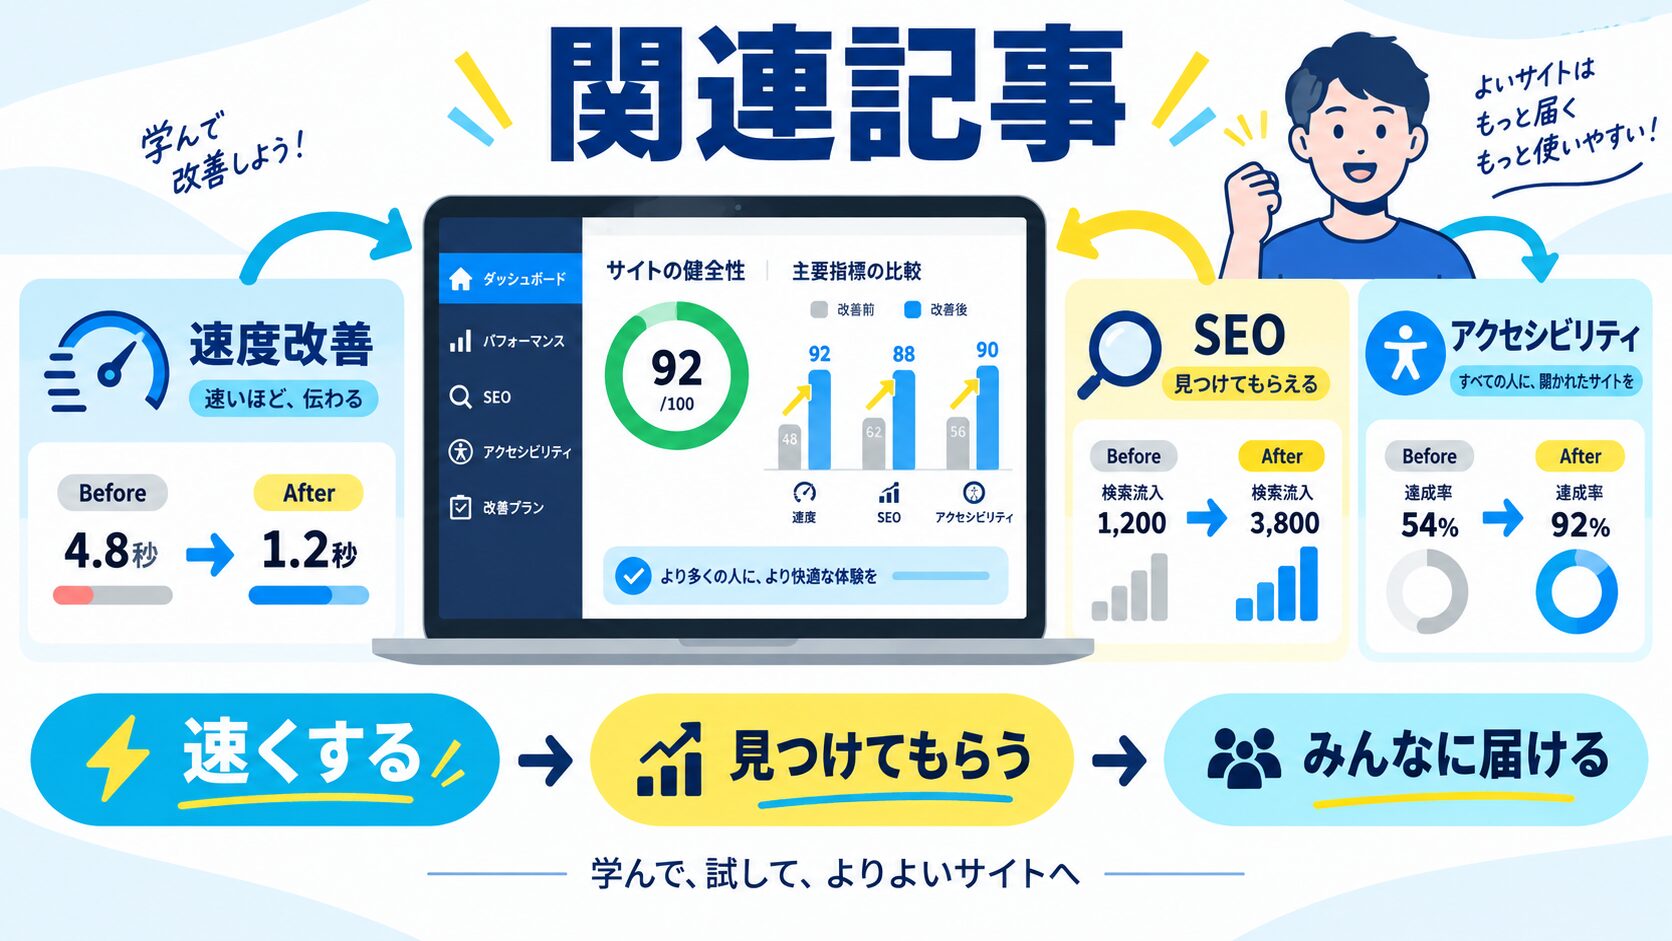
WithCodeで学んだWeb制作の基礎知識に、これらのパフォーマンス最適化技術を組み合わせれば、高速で高品質なWebサイトを構築できます。Lighthouseスコア100点は決してゴールではなく、ユーザーに快適な体験を提供するための手段です。まずは画像最適化から始め、継続的な改善を積み重ねていきましょう。

目的に合わせて選べる「AI副業」「AI転職」「AI活用」の3コースを用意。副収入・キャリアチェンジ・日常の生産性アップまで、あなたのゴールに合わせてAIを学べます。
会員登録はカンタン30秒で完了します。まずは公式LINEから、無料でAI学習をスタートしましょう!
公式サイト より
今すぐ
無料カウンセリング
を予約!